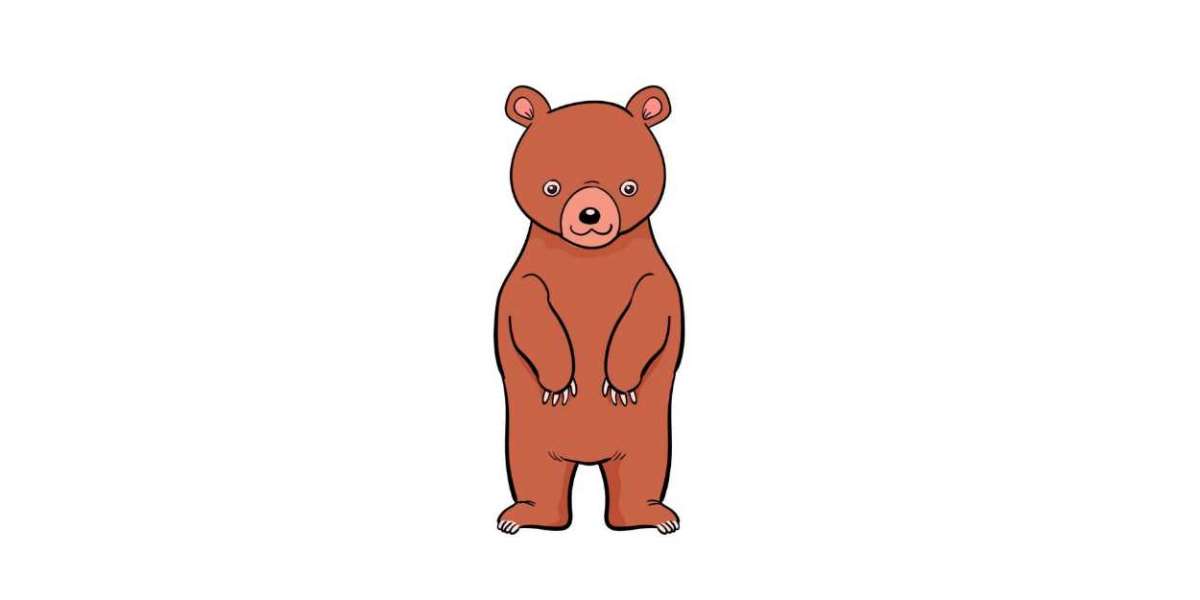
How to Draw A Bear. Bears are animals that can have two opposing calls. On the one hand, some see them as representatives of cute teddy bears. On the other hand, they are considered fierce apex predators.
Also, check our frog coloring sheet.
No matter how you look at bears, one thing is sure: millions worldwide love them. If you're one of those fans and want to learn how to draw a bear, this guide is for you!
We've created this step-by-step 8-step guide to drawing a bear to make it easier than ever for you to draw this fantastic creature.
How to Draw A Bear
Step 1
In our instructions on drawing a bear, we first draw a guide shape with a pencil. This shape looks like an oval with a bulge at the bottom.
We will use a pencil for this step because, in the next step, we will add some elements to this shape.
Step 2
For this next step, you can attach some ears to the top of the head shape, as seen in the picture.
Once you're happy with how it examines, you can run the pen over it and erase the pencil guides, leaving you with an image similar to the one in the picture.
Step 3
Now that the bear's head drawing is complete, you can start drawing some details of the face.
In this step, we will use circular shapes and curved lines to draw the details of your bear's eyes, nose, mouth, and ears.
You can even change the facial details to give your bear different facial expressions!
There are many fun ways to change it up. So don't be afraid to change a few details.
Step 4
The head of your bear design is complete so that we can start on the bear's body in the next step.
First, you can draw two curved lines as they appear in the picture to create the sides of the body.
The reference image gives you a guide on how to curve these lines. They should reach up more as they will form your bear's shoulder once you add some arms.
Step 5
Now that we have the body outline for your bear drawing, it's time to draw the first arm.
To draw this, you can add a nice long line that curves around itself, like in the picture.
After drawing the shape of the arm, don't forget to add some sharp claws!
Step 6
Once you've drawn the other arm of the bear pattern, all you have to do is draw the arm on the right side as a mirror image of the arm you drew in Step 5.
This is another step where you can change the position of the arms. For example, you could make your bear wave if you want!
Step 7
Your drawing is almost complete, and the last thing to do is draw some paws for your bear design. To add some legs, we will use a combination of curved and straight lines.
I recommend starting on the left side, drawing down from the body, arching towards the foot, and then finishing that leg before mirroring the other.
Once that's done, you've learned how to draw a bear! Your design only needs one more thing; we will take care of that in the last step.
Step 8
Now that you're drawn your bear, there's another enjoyable step! Now your bear drawing needs some color, and this is where you can let your creativity run free.
We showed you how to color your drawing so you can use it for inspiration or your favorite colors!
It's a lot of fun coloring the drawing because there are no wrong answers!
You can also try experimenting with different artistic mediums to create unique color effects! Using mediums like paints, watercolors, crayons, and pencils can be a great way to add different intensities of color to your image.
Your Bear Drawing is Finished!